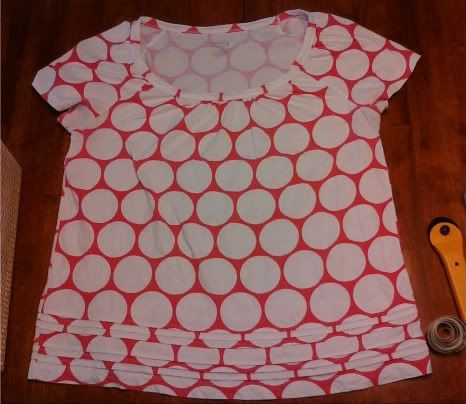
I have a few shirts that have either shrunk or just don't flatter my body type. Rather than donate them, I thought I would try to recycle them into something for my daughter. I always liked the bottom of this particular shirt, so I decided a skirt would be the best option.
(Note that your measurements will vary.) For the length of the skirt, I measure from my daughter's bellybutton to below her knees, and then subtract about four inches (for the waist band). One of my best sewing investments was this cutting mat and rotary cutter--it makes measuring and cutting so much easier!
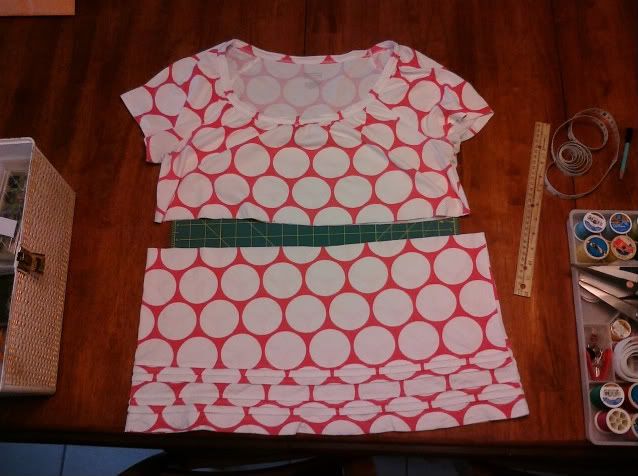
Next, you'll cut the fabric for the waist band. Measure your daughter around the fullest part of her hips (usually across her bottom), divide by two, and add 1.5 inches. In our case, that measurement wasn't too much smaller than the width of the shirt, so I was able to cut straight across the shirt. Take the top portion of the shirt and measure about four inches from the bottom. In this case, I folded the shirt and pinned the bottom before I made my cut. (My daughter is very tall, so I barely had enough fabric for the waist band.)
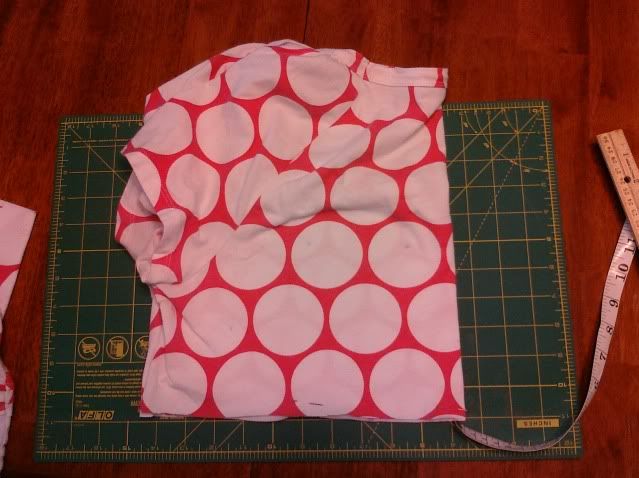
The one thing I love about this project is that the amount of sewing required is minimal--my side seams are already there! (If your daughter is smaller, you will have to stitch one of the side openings on the waist band closed. Simply turn the band right sides together and stitch up the open side.)
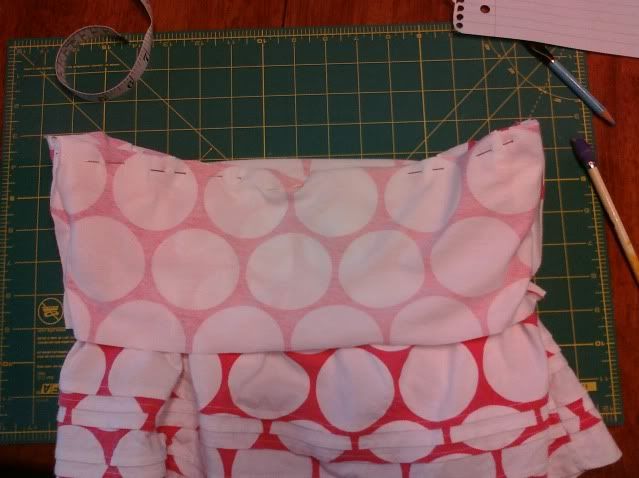
The next step is to gather the skirt and attach it to the waist band. Use whatever method you want for gathering (I apparently like to re-invent the wheel and prefer to hand gather). ;) Attach the gathered skirt to the waist band as show below and sew. (If you had to trim down your waist band, your skirt may be fuller than what is pictured, too. That's okay--what girl doesn't love a full twirly skirt?) :)
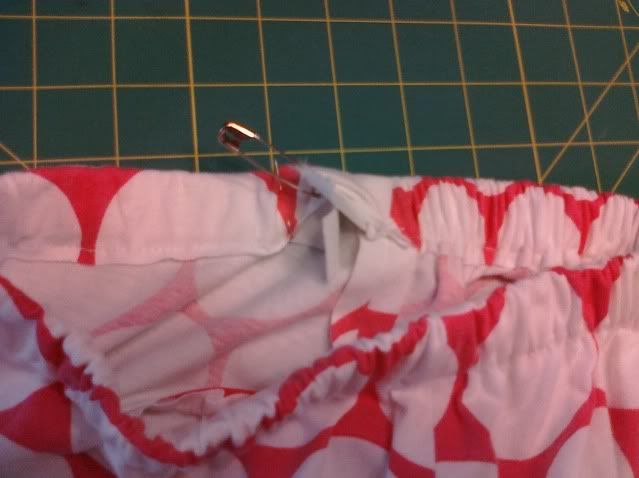
The last step is to add the elastic at the top of the waist band. I used 3/4-inch elastic, so to make my casing, I folded down about 1 1/8-inches from the top. Sew around and be sure to leave about a 1-inch opening in which to thread your elastic. I find it's easier to use a large safety pin to work my elastic through the casing.
Stitch the two ends of your elastic together and then stitch your opening in the band closed. Voilá! You have a cute new skirt for your daughter! :)

I love that fabric! What a cute skirt. Thanks so much for linking up!
ReplyDeleteWhat a perfect thing to make out of a too-small t-shirt! I love the bottom as well and it makes a terrific skirt :)
ReplyDeleteNicole